The Landscape Management System (LMS) software is implemented as a Microsoft Windows application that coordinates the activities of other programs (growth models, visualization tools, etc.) that makeup the overall system. LMS is comprised of many separate programs that make growth estimates, produce tabular and graphical displays, store inventory informaiton, and connect these diverse programs into a cohesive system. The following applications are included as important parts of LMS:
- LMS uses EnVision for landscape level visualization
- LMS uses the Forest Vegetation Simulator (FVS) for estimate tree growth throughout the United States
- LMS can use the Organon growth model for tree growth estimaes in the Pacific Northwest
- LMS uses the Python programming language for the implementation of some analysis and tabular outputs.
- LMS uses the Stand Visualization System (SVS) for stand level visualization
The Landscape Management System (LMS) software is implemented as a Microsoft Windows application that coordinates the activities of other programs (growth models, visualization tools, etc.) that makeup the overall system. LMS is comprised of many separate programs that make growth estimates, produce tabular and graphical displays, store inventory informaiton, and connect these diverse programs into a cohesive system.
Public domain from Landscape Management System
Before running the installation on Windows 10 follow the Windows 10 Compatibility Installation Instructions.
1. Run "Q:\Public\LMS 2\lms2.2-setup-cdrom.exe" or download from LMS Download page
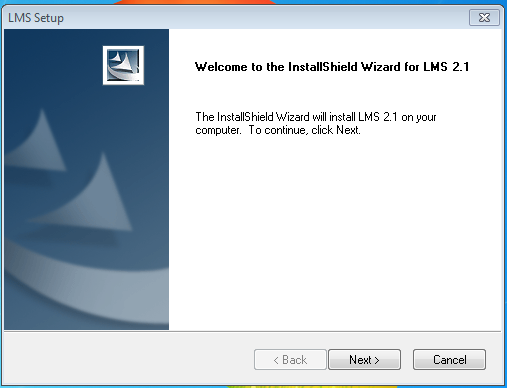
2. Welcome to the InstallShield Wizard for LMS 2.1, click Next>
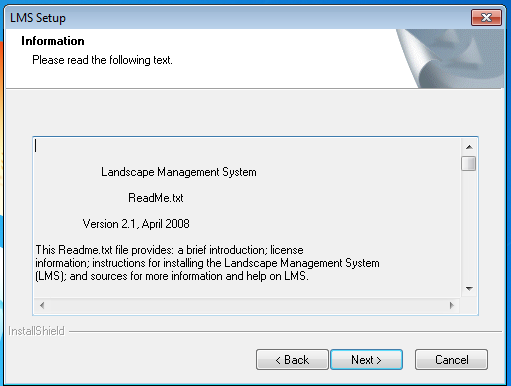
3. Information window, click Next>
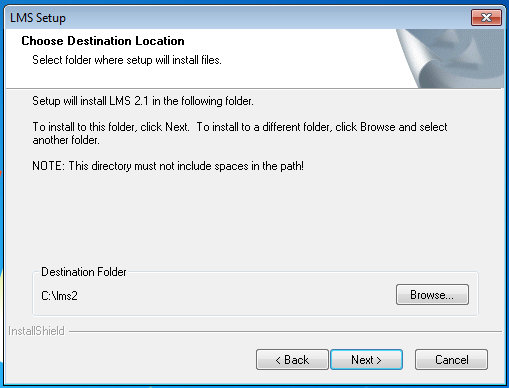
4. Install to C:\LMS2 (default location). Changing this will prevent non-admins from running the program. Click Next>
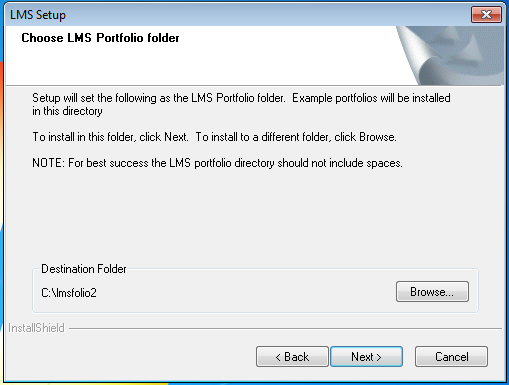
5. Accept the Destination Folder defaults. Changing this will prevent non-admins from running the program. Click Next>
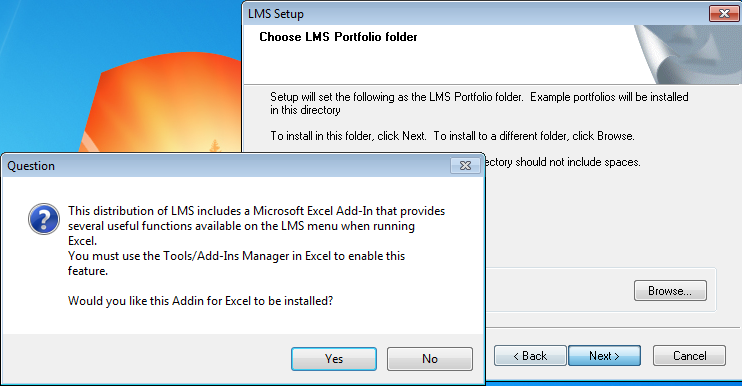
6. Select Yes if you want to install the Excel Addin, otherwise select No.
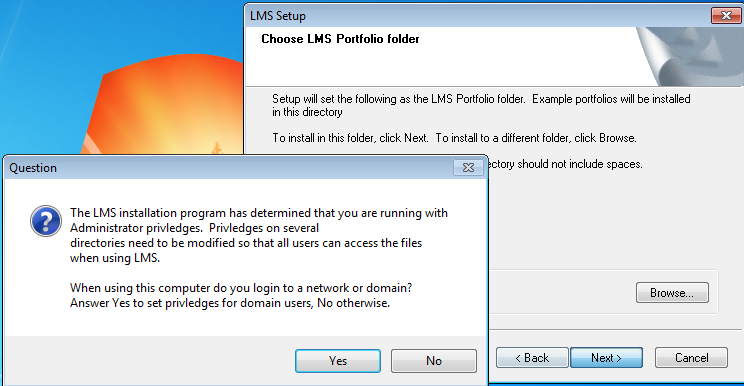
7. Select Yes to set the user domain.
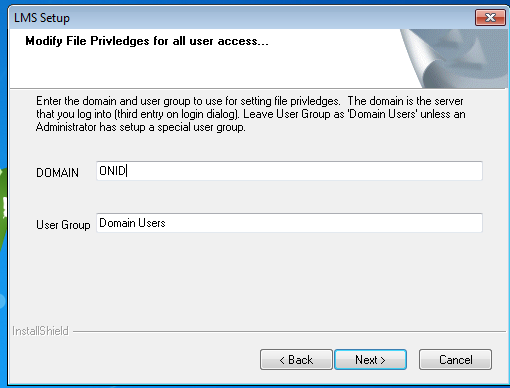
8. Set DOMAIN to ONID. If users from other DOMAINS will be logging on, then those domain users must be given permissions to the folder after installation. They will need Modify rights. Click Next>
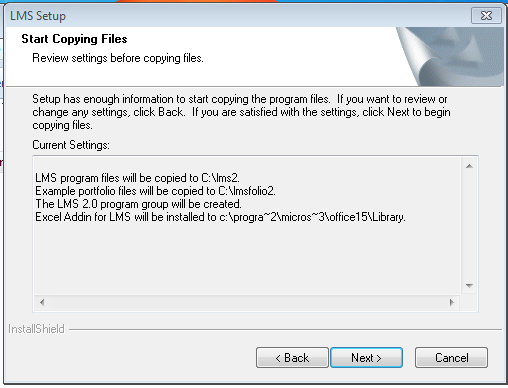
9. Files are ready to be copied. Click Next>
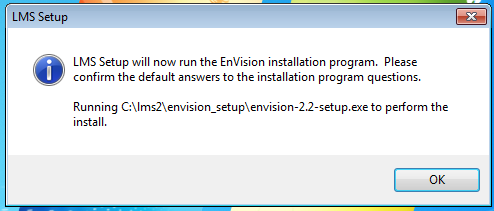
10. EnVision installation, click OK to start
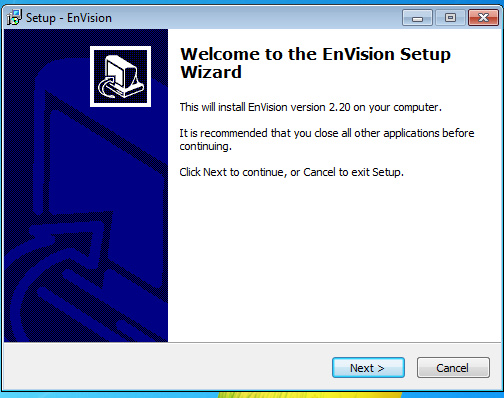
11. Welcome to the EnVision Setup, click Next>
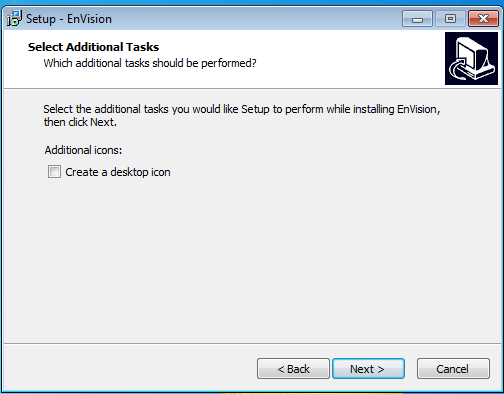
12. EnVision additional tasks, don't add desktop icon, click Next>
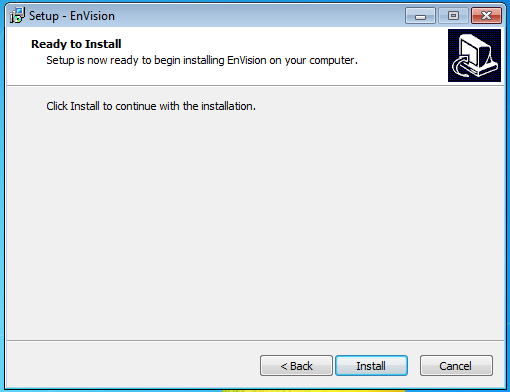
13. EnVision Ready to Install, click Install
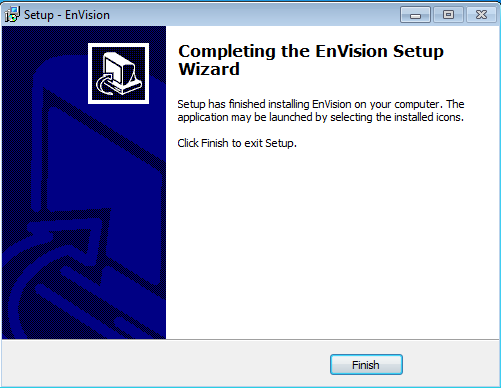
14. EnVision Setup Complete, click Finish
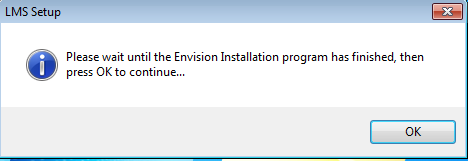
15. Press OK when you see this as the EnVision Installation is complete.
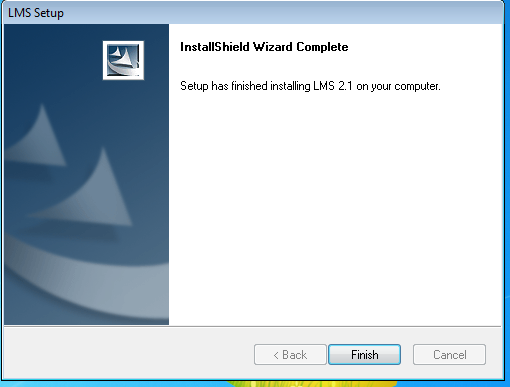
16. LMS is installed, click Finish
AFTER INSTALLATION IS COMPLETE:
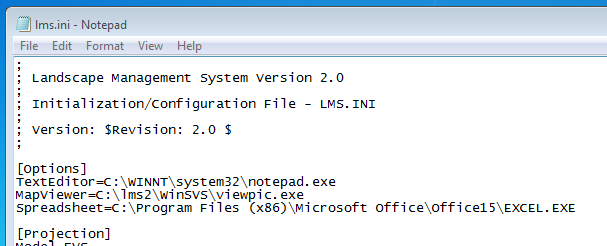
17. If the Excel addin is installed check the spreadsheet location in C:\lms2\lms.ini In [Options] section, Spreadsheet=(enter path to Excel.exe)
Correct the path if it is incorrect or Office has been upgraded after LMS is installed.
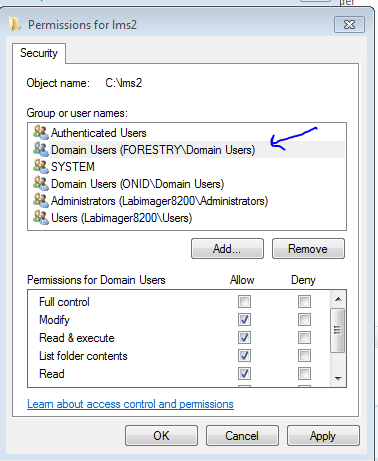
18. If users from non-ONID DOMAINS will be logging on, then those domain users must be given permissions to the folder after installation. Right click on the C:\lms2 folder, go to Properties. Click on the Security tab and Edit button. Click on Add button and the select the Domain needed to add those Domain Users. Domain Users need Modify rights. Not all Forestry users have been unified, and are logging on with Forestry account credentials. So Forestry\Domain Users need to be added. Authenticated users alone won't allow the permissions needed.
