About
The following guide provides instructions for installing and using SpamBayes in Outlook 2010 and 2013.
Table of Contents
A) How SpamBayes Works
SpamBayes is a free, 3rd-party add-in for Outlook that uses a Bayesian algorithm to identify spam messages. Over time, by you actively identifying good messages ("ham") and bad messages ("spam"), the program's filtering becomes more effective. SpamBayes requires the most investment to set up, but the end result is often the most accurate.
B) Installation Instructions
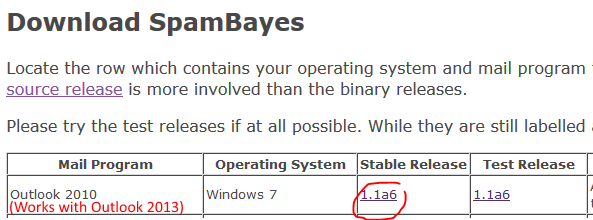
1. Download the installer (spambayes-1.1a6.exe) from the website below:
http://spambayes.sourceforge.net/index.html
2. The installer option will reference Outlook 2010, but it is also compatible with Outlook 2013:
3. Open Outlook, and make a new subfolder below your Inbox called Junk Suspects.
4. Close Outlook before continuing.
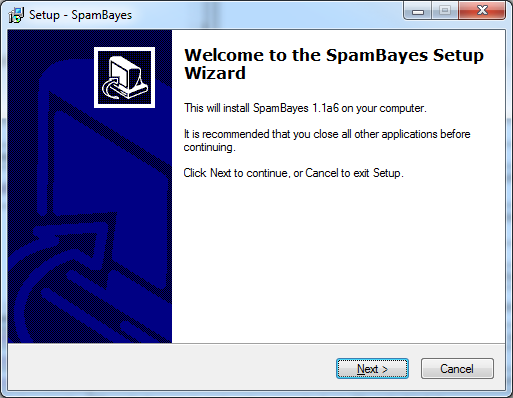
5. Run the spambayes-1.1a6.exe file that you downloaded earlier. The Setup Wizard will open.
6. On the welcome page, press Next.
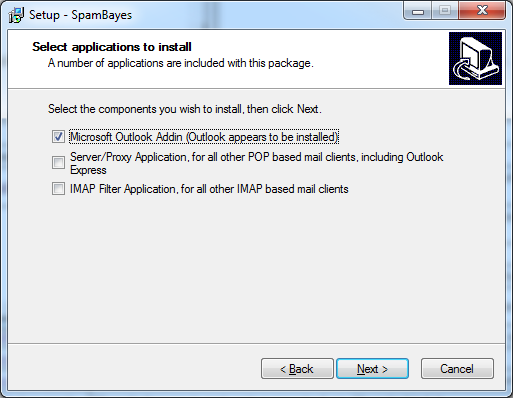
7. On the first page of the Setup Wizard, keep the default settings checked and press Next:
8. Do the same on the following page (keep defaults, press Next):
9. Accept the license agreement and press Next:

10. Keep the defaults on the Destination page:
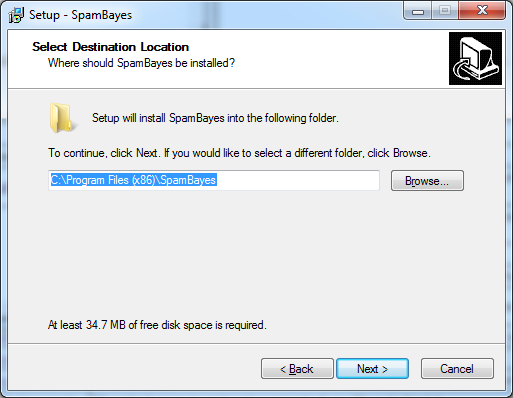
⚠️ Caution ⚠️
Some users report problems when installing SpamBayes in the default location. If SpamBayes does not work properly, please uninstall it in Control Panel and reinstall into C:\SpamBayes instead.
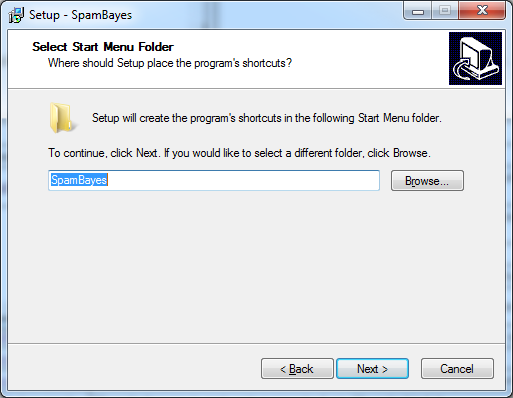
11. Keep the defaults on the Start Menu Folder page as well:
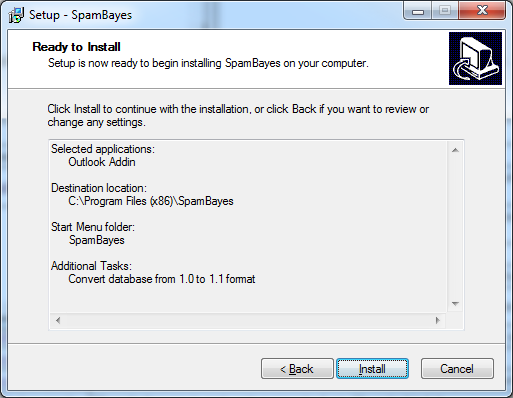
12. Finally, click Install. The program is pretty small and should install quickly.
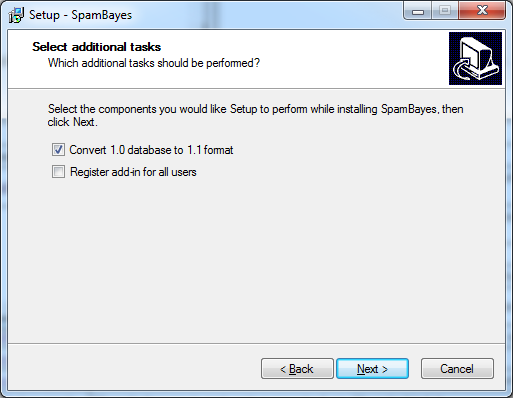
13. On the final setup page, deselect “View welcome.html” and select “Convert the database from 1.0 to 1.1”:
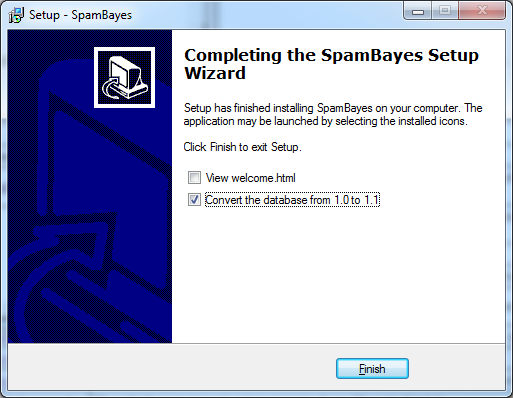
14. Click Finish, and open Outlook.
15. You should see the window below. If you have existing "ham" and "spam" folders that you can use to train SpamBayes, you may select that option. Otherwise select “I haven’t prepared for SpamBayes at all.”
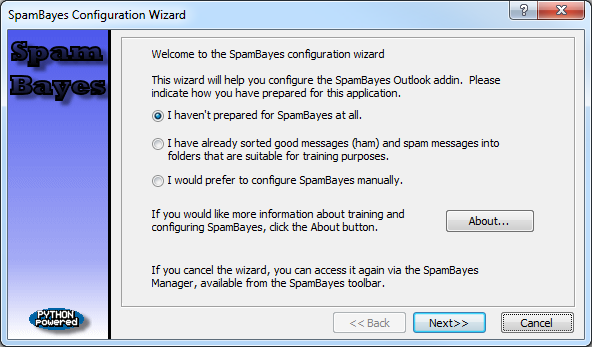
16. On the next page, select “I want to continue without training...”

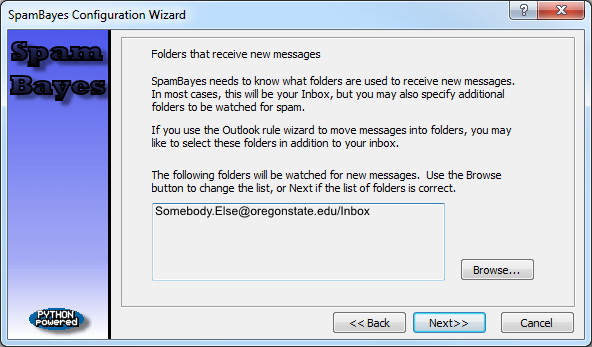
17. You will be asked which mailboxes will be monitored by SpamBayes. Be careful to only select your own Inbox!
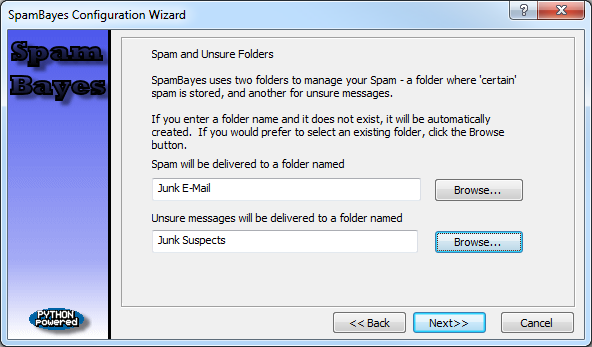
18. On this page, you distinguish between messages that are junk, and messages that are junk suspects.
For each category, click on the Browse button and select the corresponding folder in your Inbox (for Junk Suspects, choose the Junk Suspects folder you created earlier).
Below is an example of what the Browse Button looks like. A folder navigation window appears and you can select which folders you want to use for the filtering.
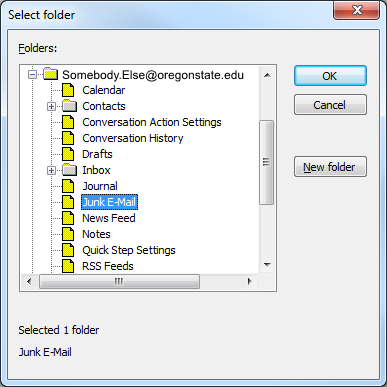
19. Once you’ve selected the folders you want, click Next.
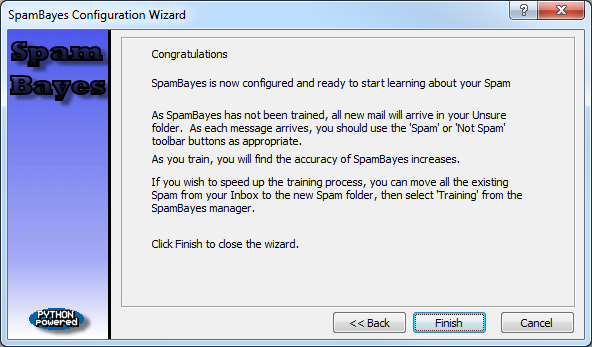
20. On the final screen, click Finish.
C) Using SpamBayes
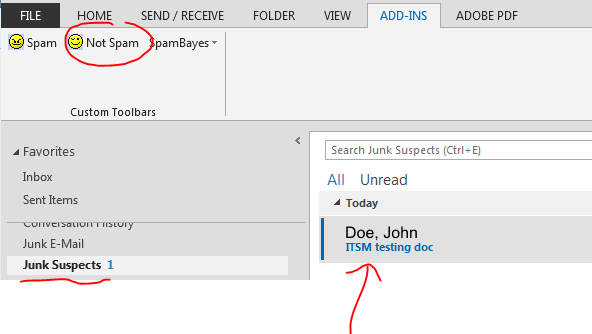
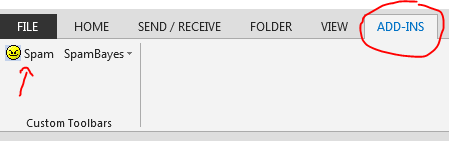
After installing SpamBayes, Outlook should now have a tab that says “Add-Ins." Inside the Add-Ins you will see a little yellow face icon labeled Spam. For any email messages that are spam, you can now click on that email message, and then under the Add-Ins tab press the Spam button.
SpamBayes will now recognize any similar messages as spam, too.
If you go into your Junk Suspects folder, occasionally you may see a message that is not spam. You can tell SpamBayes that a message is “good” by clicking on the message, and then going to the Add-Ins tab and clicking on the Not Spam button.
You can also select multiple emails at a time and declare them all to be “Spam” or “Not Spam.”