ERDAS Imagine, the world’s leading geospatial data authoring system, supplies tools for all your Remote Sensing, Photogrammetry and Geospatial Analysis needs.
ERDAS Imagine offers an enterprise-wide solution for geographic imaging. ERDAS Imagine is a fully integrated GIS and image-processing software package. It is raster-based software designed to capture, reference, measure, analyze and present data in a format that is useful to geospatial information professionals.
OSU hosts a license server with 50 Imagine licenses and 20 Photogrammetry licenses. Student use licenses are available for installation on personally owned devices. Request a free license using the Imagine License Request form.
Refer all license requests to the OSU Software Coordinator.
DO NOT INSTALL IMAGINE IF THE USER HAS NOT GOTTEN A LICENSE FROM THE OSU SOFTWARE COORDINATOR
IMPORTANT! Each Faculty/Staff computer will require a separate license. Users must pay for the annual license renewal through the OSU Software Coordinator.
!!! THESE INSTRUCTIONS ARE FOR REFERENCE ONLY. USE IF NEEDED TO ASSIST USERS AFTER THEY HAVE PURCHASED A LICENSE THROUGH THE OSU Software Coordinator.
DO NOT INSTALL IMAGINE WITHOUT A LICENSE FROM THE USER!!!
The initial installation of ERDAS IMAGINE is a two-step process. Before installing ERDAS IMAGINE, the current version of ERDAS Foundation must be installed. After the Foundation is installed on a system, any number of ERDAS products may then be installed on the same system using a single installation of ERDAS Foundation.
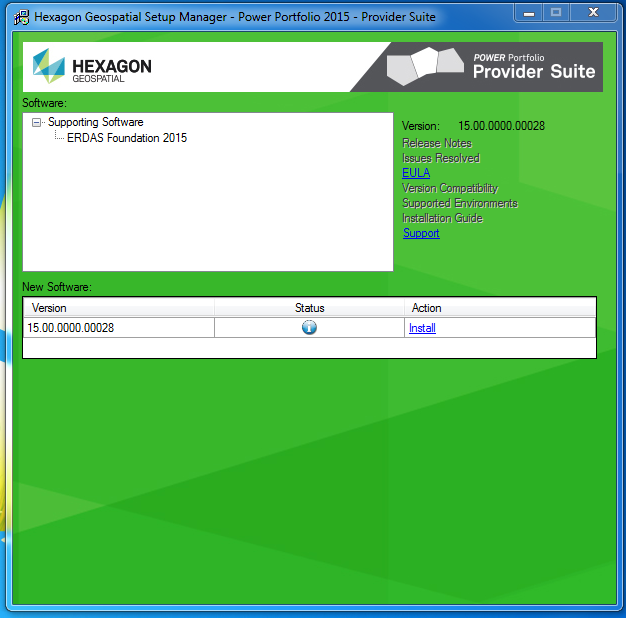
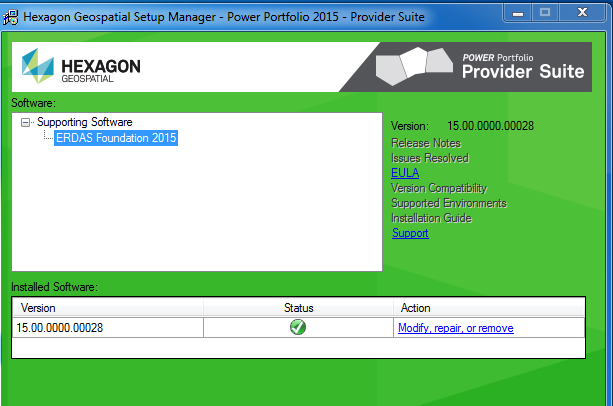
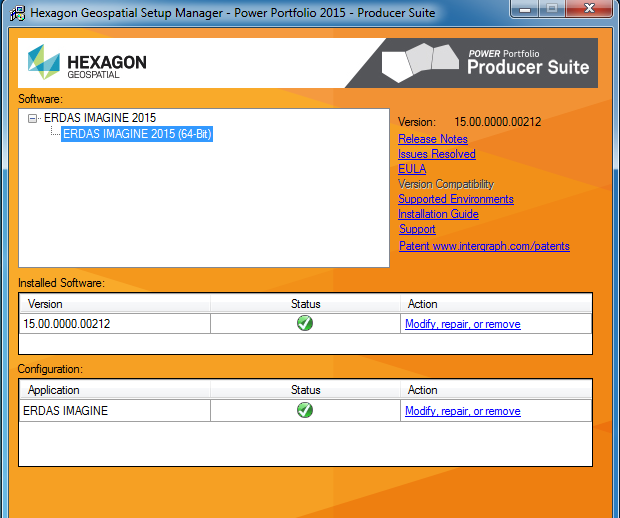
1. Install ERDAS Foundation - run Q:\Old\Restricted.old\Imagine 2015\__INSTALL FIRST - Imagine Foundation 2015\Setup.vbs. This product requires the .Net Framework 4.5 Full Profile. The simplest way to load the necessary .Net Framework onto the computer system is to run the Setup.vbs file. This will automatically start the .Net Framework installer (if it is not already loaded), and then automatically proceed to the Intergraph Setup Manager. When Setup Manager window opens, click the software package name to open the New Software table, Under Action column, click Install.
Do not close the Hexagon Geospatial Setup Manager until the installation and configuration of the ERDAS Foundation software is complete.
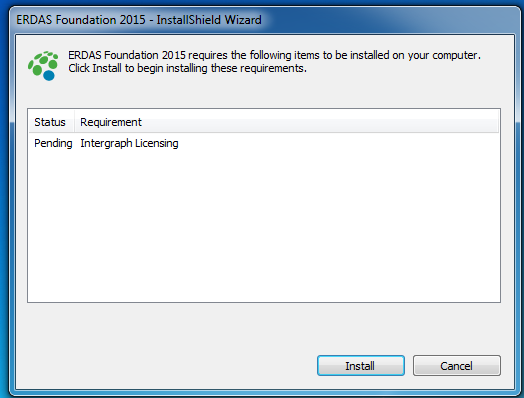
2. Requirements window will show all prerequisites that need to be installed prior to the ERDAS Foundation installation. Click on Install.
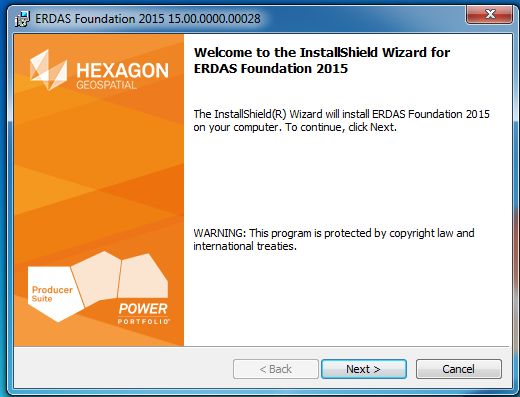
3. The ERDAS Foundation Welcome dialog opens. Click Next >
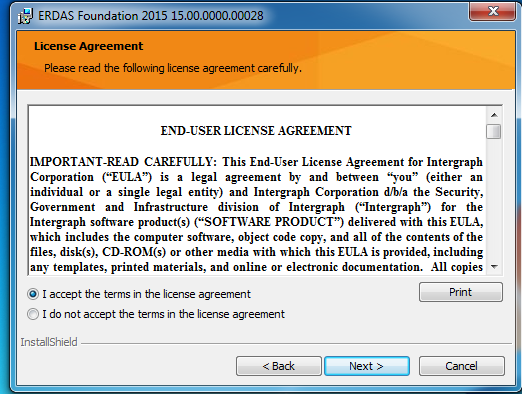
4. Accept the License Agreement, Click on Next >
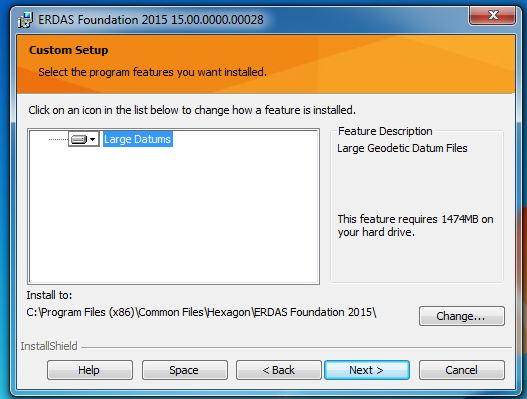
5. For most installations, leave the defaults for feature to install and installation folder. Click on Next >
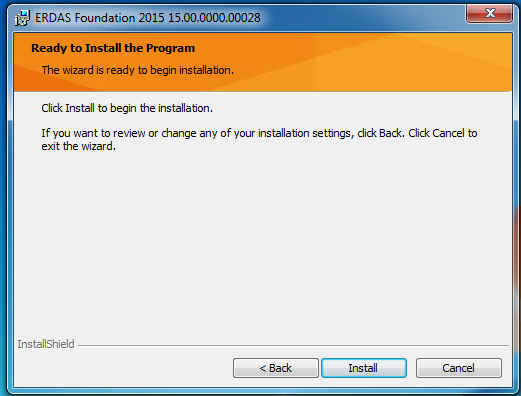
6. Ready to Install window appears, click on Install
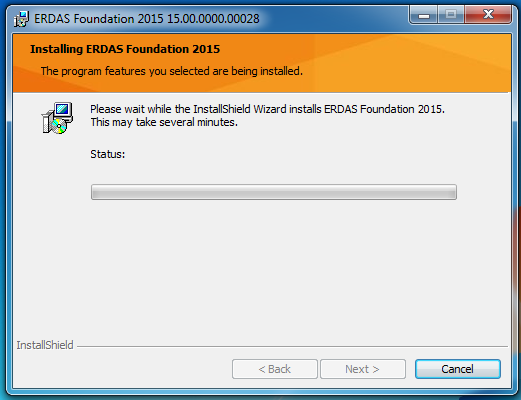
7. A status bar tracks the installation progress. Be patient, this may take a few minutes.
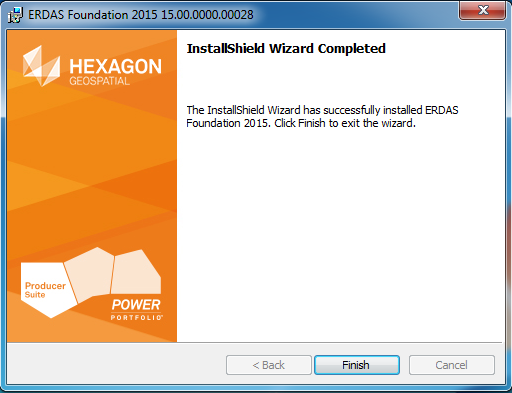
8. When the process is finished, the InstallShield Wizard Completed dialog opens. Click on Finish.
9. When completed the Setup Manager window will show the status of ERDAS Foundation. Close the window.
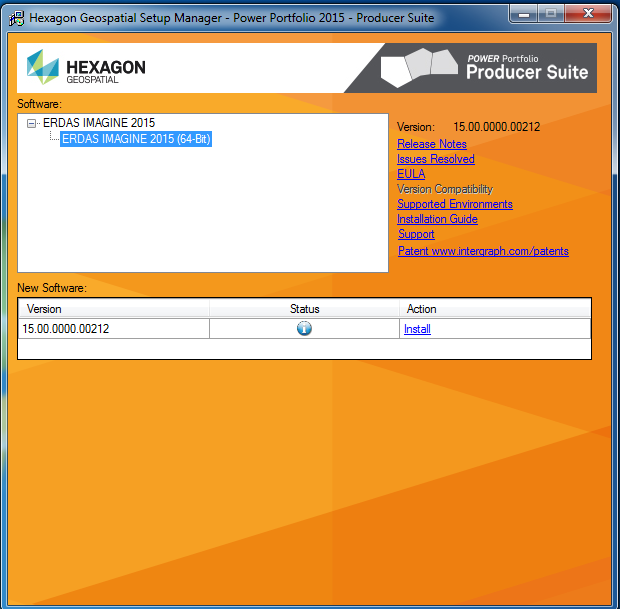
10. Install ERDAS IMAGINE. Close ALL running programs before proceeding. Run Q:\Restricted\Imagine 2015\_Imagine 2015 64bit\Setup.vbs. When Setup Manager window opens, click the software package name to open the New Software table, Under Action column, click Install. Do not close the Hexagon Geospatial Setup Manager until the installation and configuration of the ERDAS IMAGINE software is complete.
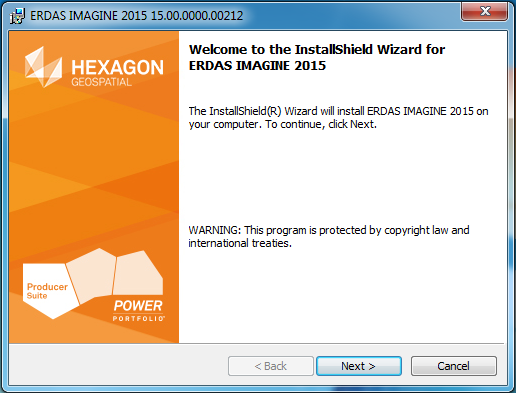
11. The ERDAS IMAGINE Welcome dialog opens. Click Next >
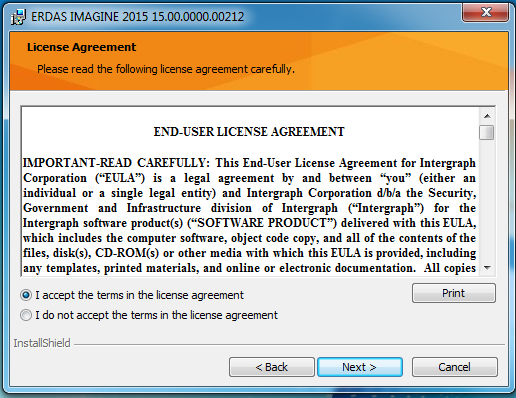
12. Accept the License Agreement, Click on Next >
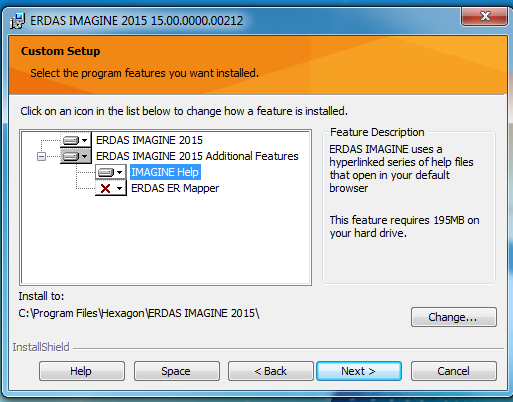
13. Custom Setup dialog opens, showing the ERDAS IMAGINE features that are available to install. For most installations leave the default programs and destination folder. Click on Next >
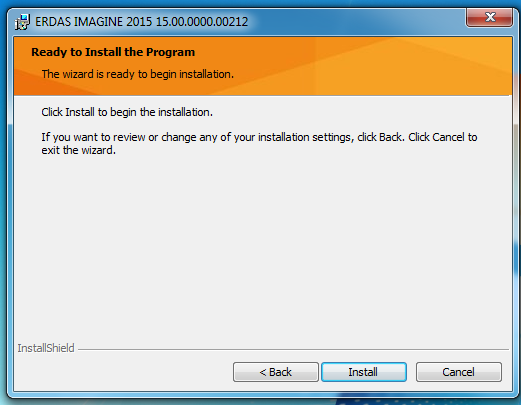
14. Ready to Install window appears, click on Install
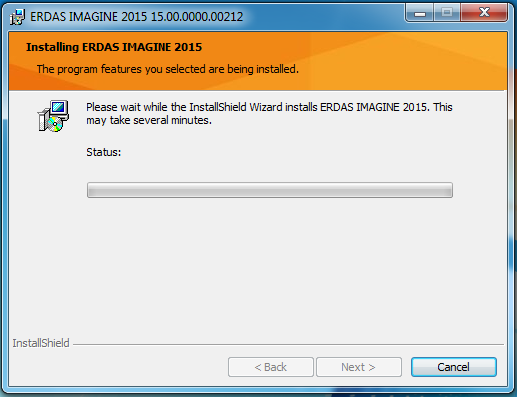
15. A status bar tracks the installation progress. Be patient, this may take a few minutes.
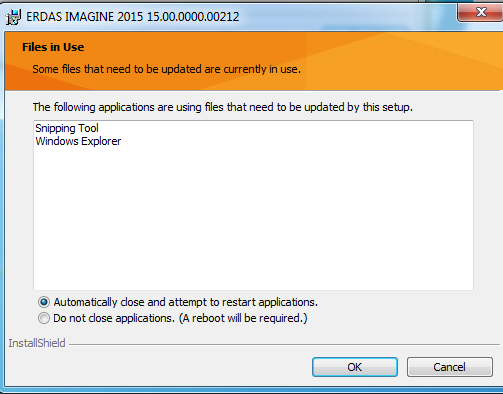
16. If the Files in Use window appears part way through the installation, select Automatically close..., then click on OK and installation will continue.
17. Do not close the Hexagon Geospatial Setup Manager until the installation and configuration of the ERDAS IMAGINE software is complete.
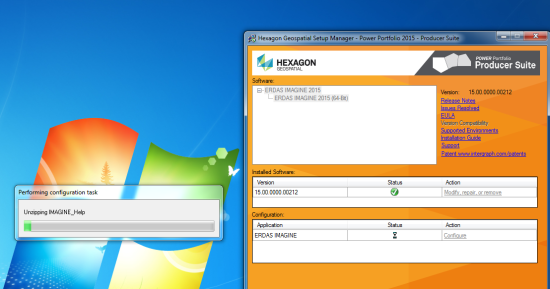
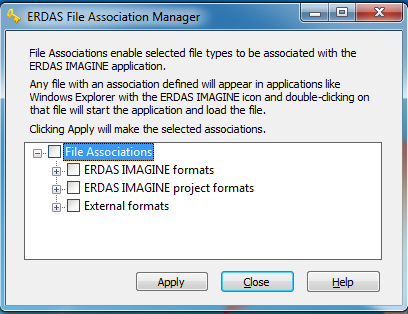
18. When the ERDAS File Association Manager dialog opens. Do not select file types to be associated with ERDAS IMAGINE application. Click on Apply.
The customer can open this dialog, also known as File Registration Handler, later from within IMAGINE Workspace to make any changes after installation.
19. When completed the Setup Manager window will show the status of ERDAS IMAGINE. Close the window.
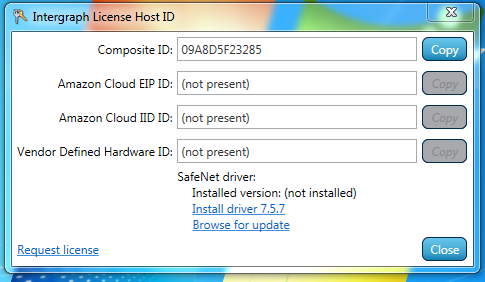
20. After installation go to Start | All Programs | Intergraph Licensing 11.11.1. Launch Intergraph License Host ID. Click on Copy button next to the Composite ID field. Send an email to the OSU Software Coordinator with the following information:
Customer name;
Computer name:
Host ID: {paste Composite ID here}
SAMPLE ONLY, do not use this composite id:
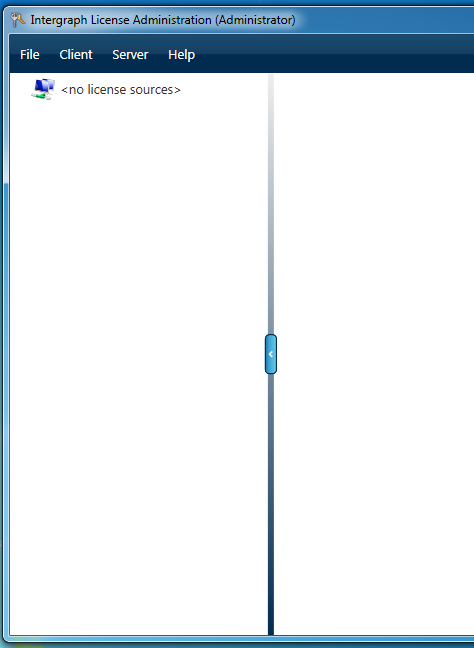
21. After receiving the license file for the specific computer, save the file. Then go to Start | All Programs | Intergraph Licensing 11.11.1. Launch License Administration. Click on File, then on Import License File. Browse to the license file you saved and click on Open.
22. To be continued.....
